Migrate RFTS from Windows XP to Windows 7
Learn how to migrate the Relais File Transfer Service (RFTS) from Windows XP to Windows 7.
Pre-Installation
Prior to starting the migration process capture the existing settings from the Windows XP workstation where the File Transfer is currently running.
- Validate that you are not currently running the Relais File Transfer Service (RFTS) as another network user.
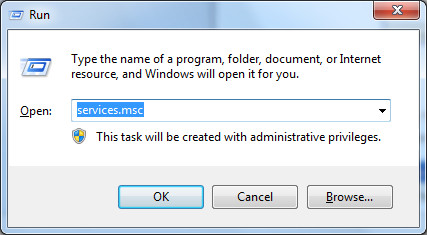
- Click on the Control Panel, select Administrative Tools, and either select Services or open Service.msc from the run box.
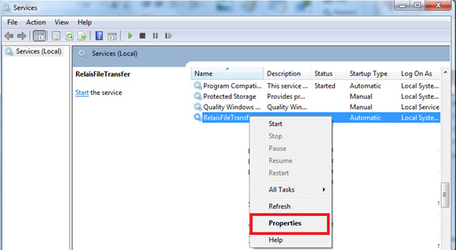
- Right-click on RelaisFileTransferService and select Properties.
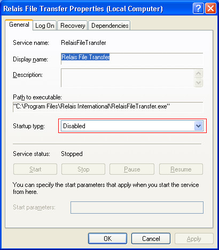
- On the General tab, make sure that the Startup Type is set to Disabled.
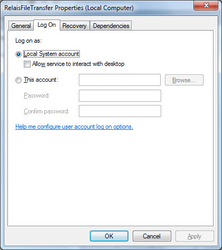
- Click on the Log On tab and check that the Log On is set to Local System account. If it is not set to Local System Account then record the value of this account.
- Click on the Control Panel, select Administrative Tools, and either select Services or open Service.msc from the run box.
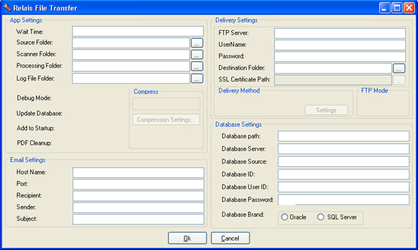
- On your Windows XP workstation, capture the existing settings of the Relais File Transfer Service.
- Right-click on the RFTS manager icon
 on the Windows taskbar and select properties.
Note: If the icon is not displayed, go to Programs(x86), select Relais International > Relais File Transfer Service. From here, select the Relais File Transer Service Manager and right-click on TransferServiceManager.exe. Select Run as Administrator. The icon displays in the Windows taskbar. - Take a screenshot of the properties window to reference later when configuring the new installation of the RFTS.
- Stop the Relais File Transfer Service. See About RFTS for more information on how to stop the service.
- Right-click on the RFTS manager icon
Install RFTS on Windows 7
- Download the new RFTS build from the North American server.
- Unzip/extract the build to your desktop and run the setup.exe.
Note: If the installer reports that the RFTS is already installed please perform the steps below:
- Click the Start button, then click Run and type REGEDIT. Click OK.
- Go to HKEY_LOCAL_MACHINE\SYSTEM\CurrentControlSet\Services and scroll down to the folder that says Relais File Transfer.
- Right-click on the Relais File Transfer folder and select Delete to delete the Relais Transfer Service folder in KEY_LOCAL_MACHINE\SYSTEM\CurrentControlSet\Service.
- Confirm that you wish to delete this key by selecting Yes.
- Close the Registry Editor.
- Reboot the computer.
- Install the new service again.
Configure and start the new RFTS
- On your Windows XP workstation, right-click on the RFTS manager icon on the Windows taskbar and select properties.
- On the properties screen, enter the values from the properties screenshot that you captured earlier.
- Click on the Alternative delivery tab and click on OK. This section must be left blank.
- Uninstall the RFTS from your Windows XP workstation.
- Start the RFTS.
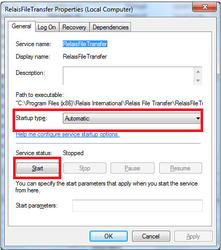
- Go to the Control Panel and click on Services. Right-click on Relais File Transfer Service and select Properties.

- On the Properties tab, click on the General tab to ensure that the Startup type is set to Automatic. Click Start under the Service status and click OK.
- Reboot your workstation.
- Go to the Control Panel and click on Services. Right-click on Relais File Transfer Service and select Properties.